Showing posts with label Photoshop; High Pass; filter; sharpening. Show all posts

Saturday, 11 July 2009

How to use the High Pass filter for Sharpening

As with anything in the photo editing world, there are many different ways to do something. This is how I use the High pass filter for sharpening....

-First open up your image in Photoshop.
File>Open or drag and drop image into PS.
-Make a duplicate background layer.
Layer>Duplicate Layer or right click on background layer>Duplicate Layer.
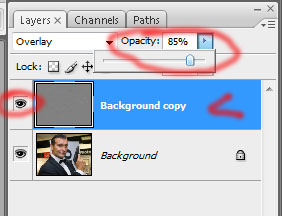
-With Background Copy selected change layer properties from Normal to Overlay.
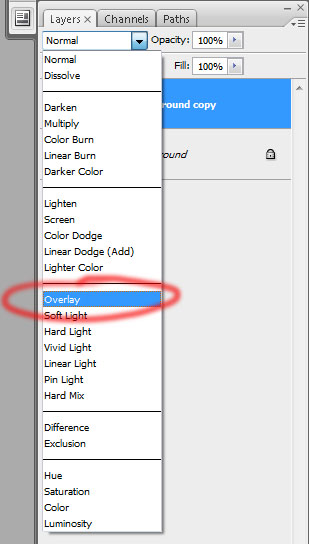
Don't panic! You will see a change in your image, ignore that for now, it is only temporary, I promise.

-With Background Copy selected on your layer's pallet open the High Pass filter tool. Filter>Other>High Pass
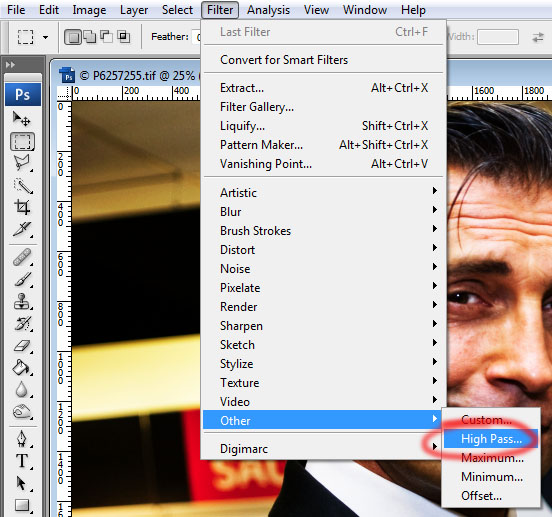
-Use the slider at the bottom of the High Pass box to adjust the amount of sharpening that you'd like. I can't give you a figure because every image will be different. With the Preview box checked you can see the results on your images, I recommend zooming in to 100% to see the details of the sharpening. (Ctrl plus =+ key zooms in on PC)
-When desired effect is achieved then press OK. Now you can compare your new background copy with the original background. I recommend comparing full resolution as well as full image. (clicking on the eye in the layer pallet next to the desired layer will turn that layer off and on)
-If you feel you've over done it, don't panic! Just change the Opacity of the background copy layer until you get your desired effect. Some people even recommend over doing it and then adjusting the layer Opacity to suit.
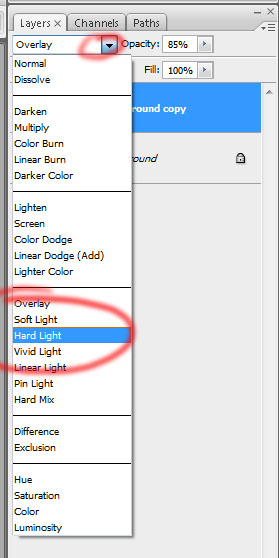
Next you can adjust the lighting effect of your sharpening by changing the layer properties from Overlay to Soft Light or Hard Light or what ever you like in the drop down box.
When you are done editing your photo remember to flatten before saving, unless you are saving as a photoshop document for further editing later.

Friday, 10 July 2009

Sharpening with the High Pass filter

Sharpening with the High Pass filter in Photoshop is so easy, why I haven't been doing this all along I don't know! Well yea I do, I only just now figured out how to use it. I heard about this High Pass filter thing years ago but never tried it. Now that I have I'm like, WOW, why haven't I been doing this all along?

This High Pass sharpening is also really great if you have any noise in your photo, because it doesn't sharpen the noise like using the UnSharp Mask tool does.

I'll knock up some examples...brb

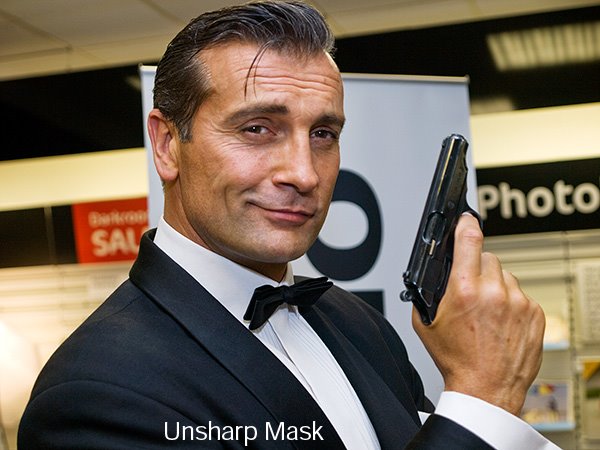
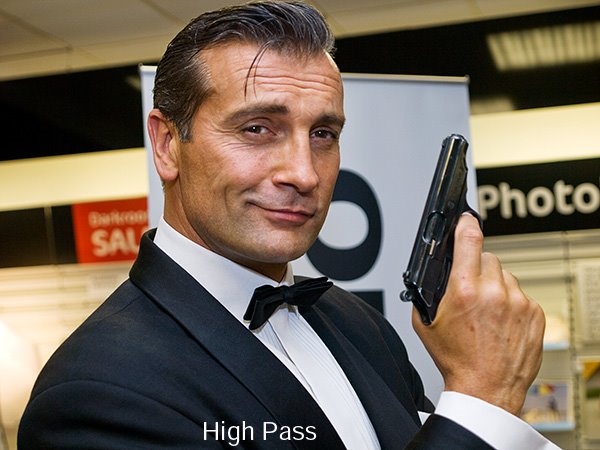
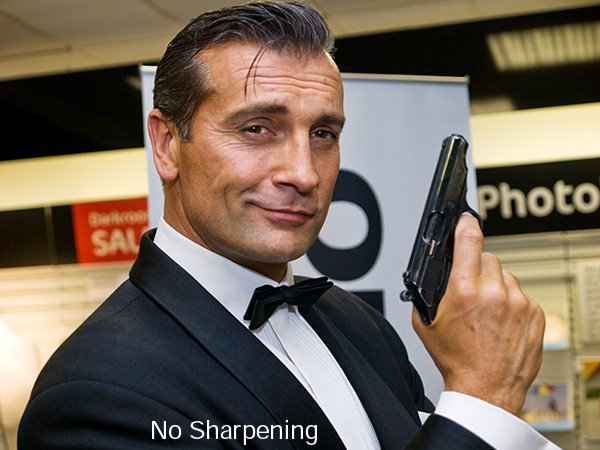
OK, Here is an image that I just played around with. Might not be the best example but it's the one I wanted to play with. :-)


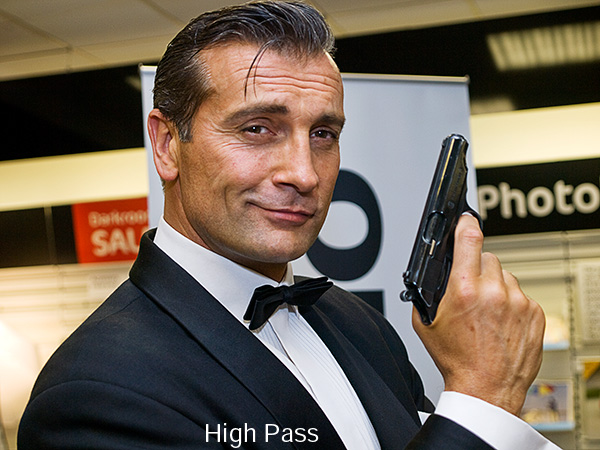
As you can see in these small photos with the amount of processing I did the difference is subtle. On close inspection there is more noise in the Unsharp Mask one. I decided to push the High pass one to see how far I could push it before there was noticeable noise in the image and it looked over sharpened. This is my result:

I couldn't get this sharp an image from the above file with the unsharp mask filter without a lot of noise and a bit of distortion. I'm quite impressed with the High Pass way of sharpening images and will be investigating further.

Next I'll explain how I used the High Pass Filter.