-First open up your image in Photoshop.
File>Open or drag and drop image into PS.
-Make a duplicate background layer.
Layer>Duplicate Layer or right click on background layer>Duplicate Layer.
-With Background Copy selected change layer properties from Normal to Overlay.
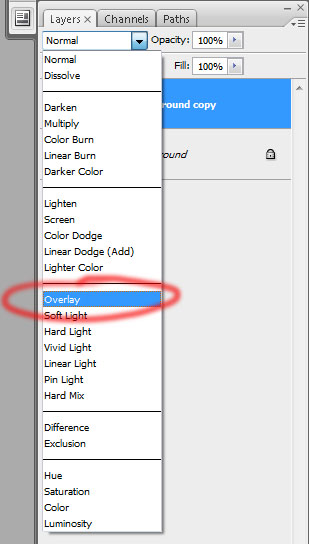
Don't panic! You will see a change in your image, ignore that for now, it is only temporary, I promise.
-With Background Copy selected on your layer's pallet open the High Pass filter tool. Filter>Other>High Pass
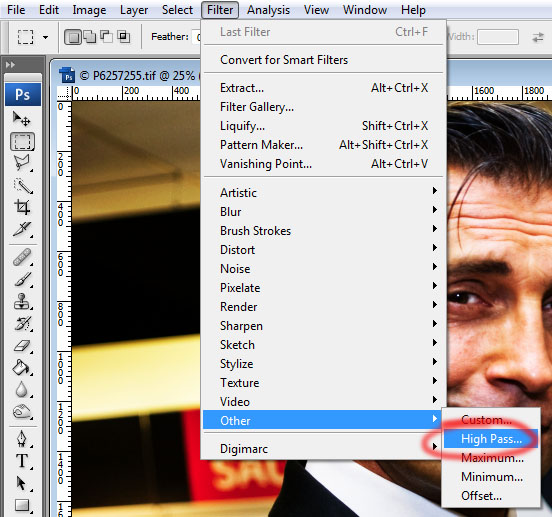
-Use the slider at the bottom of the High Pass box to adjust the amount of sharpening that you'd like. I can't give you a figure because every image will be different. With the Preview box checked you can see the results on your images, I recommend zooming in to 100% to see the details of the sharpening. (Ctrl plus =+ key zooms in on PC)
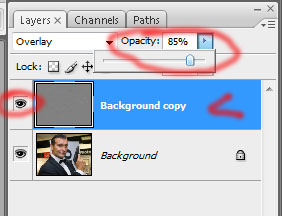
-When desired effect is achieved then press OK. Now you can compare your new background copy with the original background. I recommend comparing full resolution as well as full image. (clicking on the eye in the layer pallet next to the desired layer will turn that layer off and on)
-If you feel you've over done it, don't panic! Just change the Opacity of the background copy layer until you get your desired effect. Some people even recommend over doing it and then adjusting the layer Opacity to suit.
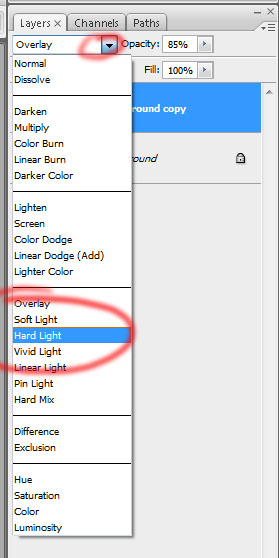
Next you can adjust the lighting effect of your sharpening by changing the layer properties from Overlay to Soft Light or Hard Light or what ever you like in the drop down box.
When you are done editing your photo remember to flatten before saving, unless you are saving as a photoshop document for further editing later.
No comments:
Post a Comment